
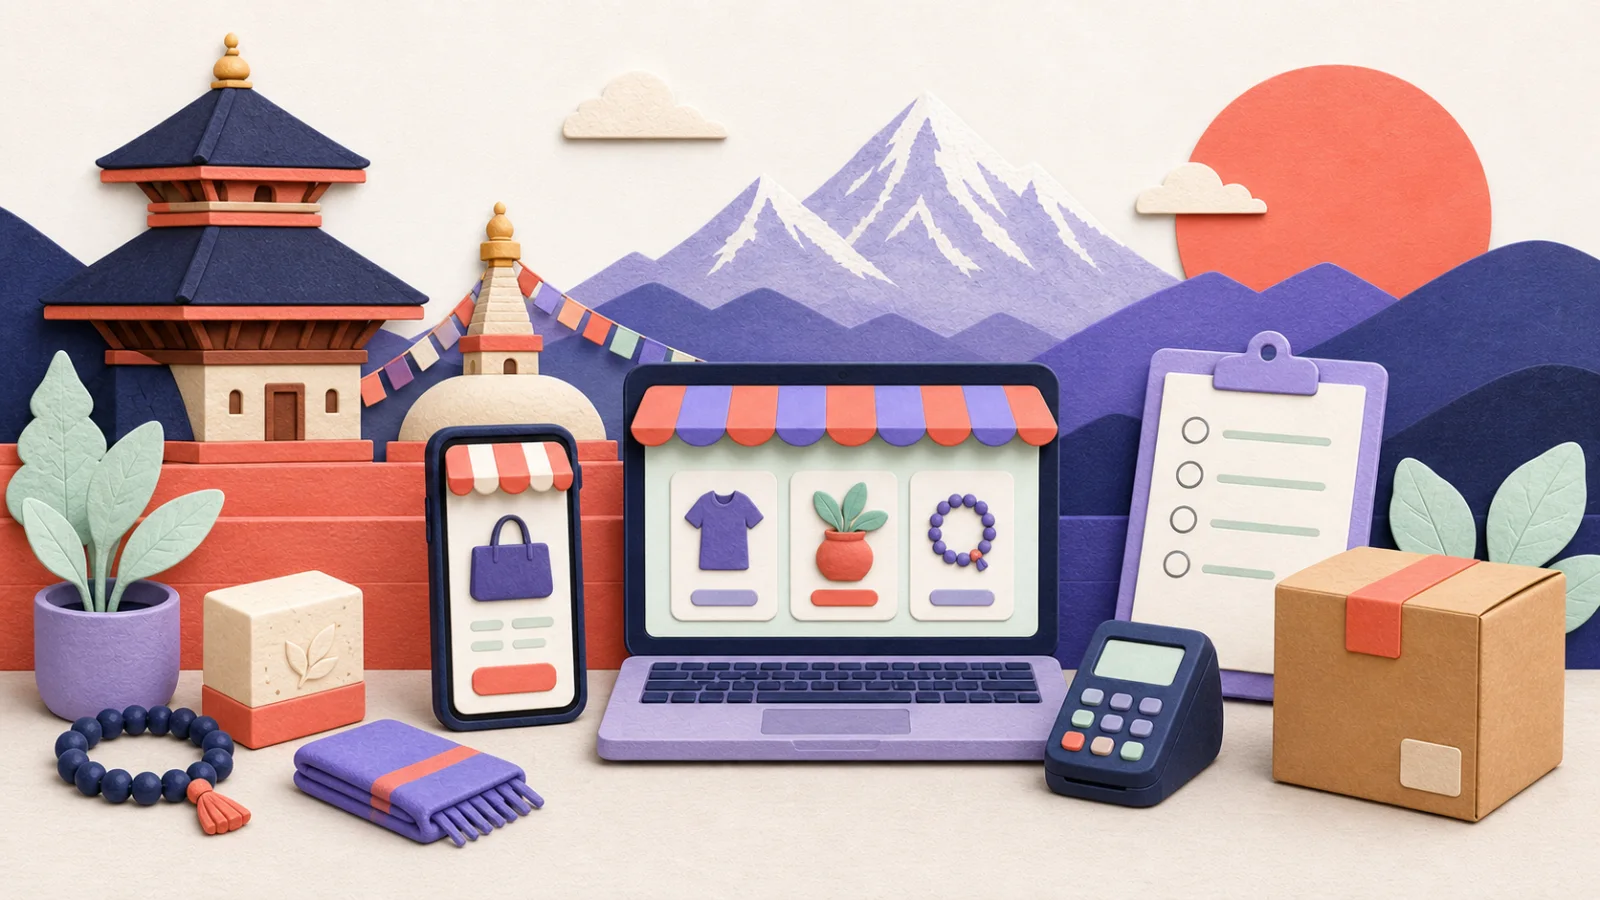
How to start an online business in Nepal (2026 step-by-step guide)
A practical, Nepal-specific guide: choosing what to sell, registering, taking eSewa and Khalti payments, delivery, and making your first sale.
The Pasalos Team
July 13, 2026 · Updated August 3, 2026 · 5 min read
Starting an online business in Nepal means making decisions that many general guides skip: which local payment accounts to open, how to price delivery outside the Valley, and how to handle cash on delivery. This guide covers those decisions from the first product test through the first 90 days.
Decide what you'll sell and check real demand first
The cheapest market research in Nepal is the one merchants already do instinctively: look at what sells in Facebook groups, on TikTok, and in Instagram DMs. Before you buy inventory:
- Search Facebook marketplace groups and TikTok for the product. If people are asking "price?" under posts, demand exists.
- Check what Daraz sellers charge for the same item; that's your price ceiling for a commodity product.
- Start with a niche you actually know. The seller who understands kurtas, hiking gear, or phone accessories deeply will beat the one reselling whatever's trending.
Small first orders beat big bets. Twenty units that sell out teach you more than two hundred units gathering dust in your room.
Choose where to sell: marketplace, social, or your own store
You have three realistic channels, and they aren't mutually exclusive:
- Marketplaces (Daraz): instant traffic, but you pay commission, compete on price against every other listing, and the customer belongs to the marketplace, not to you.
- Social selling (Instagram/TikTok/Facebook): free to start and great for discovery, but taking orders through DMs means manually sending your eSewa number, tracking payments in screenshots, and losing orders when you sleep.
- Your own store: you control prices, branding, and the customer relationship, and checkout happens without you being awake. The tradeoff: you have to bring your own traffic (usually from the social channels above).
A useful combination is social media for discovery and a store for checkout and repeat orders. Customers can see the price and place an order without waiting for a reply in DM.
Register your business (the basics)
Once you accept orders through a website, app, marketplace, or social-media account, Nepal's e-commerce rules may apply. Read our plain-language guide to the website and platform requirements before you launch. To get a payment-gateway merchant account, a bank account in the business's name, and courier COD settlement, you'll generally need:
- A registered business (for most small sellers this starts as a sole proprietorship registered at the ward office, or a company registered with the Office of the Company Registrar).
- A PAN from the Inland Revenue Department (tax registration).
- A business bank account for settlements.
Requirements and fees change, and they differ by business type and municipality; verify the current rules at your ward office and the IRD before filing anything. This is general information, not legal or tax advice (as of July 2026).
Set up payments the way Nepal actually pays
There's no single "add payments" button in Nepal; you assemble the methods your customers use:
- eSewa and Khalti cover the majority of wallet users. Each requires a merchant account (KYC: registration documents, PAN, bank details); apply early, approval takes time.
- Fonepay QR lets anyone with a mobile banking app pay you by scanning.
- connectIPS suits larger direct-from-bank payments.
- Cash on delivery remains common. Add a confirmation call or message before dispatch to reduce refused parcels.
If your platform already includes eSewa, Khalti, and COD flows for Nepal, you do not need to build those integrations yourself.
Plan delivery before your first order, not after
Delivery anxiety loses more Nepali online sales than pricing does. Decide up front:
- Inside Kathmandu Valley: same-day/next-day couriers and rider networks make this the easy zone. Price it flat and cheap.
- Outside the Valley: inter-district couriers reach all 7 provinces, but rates vary by weight and destination. Build a simple zone table (Valley / major cities / remote districts) so you never quote a delivery price from guesswork. Check coverage and current rates directly with Pathao Parcel, Upaya, Nepal Can Move, or Dash Logistics.
- Local pickup: if you have a physical pasal, let customers collect and pay there. It costs you nothing and converts hesitant first-time buyers.
Confirm every COD order before dispatching it. One WhatsApp message saves a wasted round trip to Pokhara.
Price in NPR, with real margins
Add up landed cost (product + shipping to you + customs if imported), packaging, delivery subsidy if you offer "free" shipping, payment-gateway fees, marketplace commission if applicable, and a return/refusal buffer for COD. What's left is your actual margin, which many first-time sellers discover is half what they assumed. Price from that number, not from what the product cost you.
Open your store and make your first sale
The launch itself should be the easy part:
- Set up your store with 10–20 products, clear photos (your phone camera is enough: natural light, plain background), and honest descriptions.
- Connect your payment methods and delivery zones.
- Share the link where your buyers already are: your personal Facebook, relevant groups, TikTok, and Instagram bio.
- Review the first ten orders closely. Note every confusing question, delivery problem, and payment failure, then fix the cause before promoting the store more widely.
If you later add a physical counter or want one stock list across your shop and website, that's exactly the problem a POS system paired with your online store solves.
Your first 90 days, realistically
- Weeks 1–2: register, apply for merchant accounts, set up the store.
- Weeks 3–6: first sales from your own network and groups; fix whatever confused people.
- Weeks 7–12: double down on the one channel bringing orders; add products around your winners; start collecting reviews and repeat customers.
The first month is mostly a test of the product, checkout, and delivery routine. After three months, the order records should show which products and sales channels deserve more time.
Ready to see what the store itself looks like? Everything Pasalos gives you (storefront, payments, delivery zones, inventory) is on the features page.